I bought this SwissGear Computer Backpack
 to use as my daily backpack. It took a lot of investigating and trying to accommodate my needs. I wanted to be able to fit the following:
16″ laptop
Work files and brochures
DSLR camera with 2 lenses
Assorted gear
I was using the Lowepro Compudaypack for about 8 years and it was perfect… except for one thing. It’s no longer made. I wore it out and broke a zipper along with the various scuff marks. So I spent some time finding just the perfect replacement backpack. Well… it doesn’t exist.
I ended up finding one that was “close enough” and it has been working well for the past 6 months, except for 3 little items:
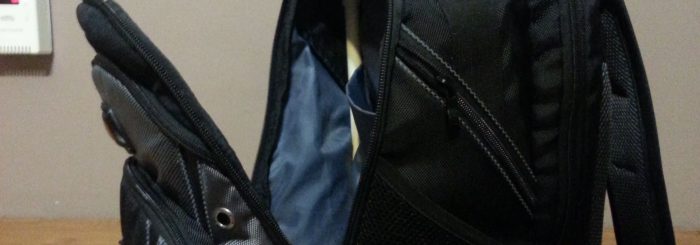
I never use the velcro strap for the laptop since it would only help protect the laptop if I dropped the bag upside down. So I just put the laptop in the bag and go. This leaves the hook side of the velcro grabbing the mesh pocket inside. MY SOLUTION was to put a legal size folder inside the compartment so that the hook side can’t reach the mesh pocket. It really doesn’t need the mesh pocket and would have been better without the mesh.
In the main compartment, there are 2 problems. The first is that the file holder slot always droops down. This needs a velcro strap to keep it up and in place so nothing gets caught on it. I will sew a hook side on the pocket, and attach a velcro strap to the top of the inside of the bag to fix this.
The second problem in this compartment is that the bag always droops if there is not anything inside this compartment. This is because the material isn’t thick enough to provide enough support for the weight of the bag. I always leave my bag standing up so that I can easily insert the things I want and go.
 My solution for this is a little maker space project. I built a CPVC frame to fit inside the bag and it works wonders!!! It’s perfect. it’s really easy to make and it took me about 30 minutes, using a hack saw to cut the CPVC to the right lengths. Here is the shopping list:
1x 6′ CPVC pipe 1/2″ diameter
6x 90 degree elbow connectors (for 1/2″ cpvc)
2x Tee connectors (for 1/2″ cpvc)
I had to buy a 10′ pipe since that was the shortest my local Home Depot carries. The total cost was $6.
Instructions:
- Cut 5x cpvc pipe to 10″ long.
- Cut 2x cpvc pipe to 1″ long.
- Cut 2x cpvc pipe to 3.75″ long.
- Assemble as shown in the picture. I did not use any glue.
The end result is that the bag stands up perfectly. If the pipes start to bend, I have plenty left over and can cut a few more lengths and replace them individually. I love this stand for the bag. It also gives me a place to put the velcro strap inside the main compartment. It’s a win-win!

UPDATE as of 10/27/2015: I ended up having to glue the pipes together. The daily use and slinging the bag around had joints coming apart every day. I couldn’t find PVC weld, so I used superglue to hold them together. So far it is working better.